Quick Easy Tips on How to Install Tubeless Tires for Bicycles
How to install tubeless tires – A lot of cyclists who are eager to up their biking game upgrade to tubeless tires.
There are a number of benefits to tubeless tires: they’re more resistant to getting flats, they make for a better ride, and they’re also lighter. But if you don’t know exactly how to install tubeless tires on your bike, you might be hesitant to upgrade.
The following will break down exactly how to install tubeless tires, as well as everything else you might need to know about this efficient upgrade.
Disclaimer: Some of the links in this article are affiliate links and I may earn a commission if you click on them, at no additional cost to you. Hope you find the information here useful! Thanks.
Related Articles:
- How to Deflate a Tire – Bicycle Maintenance and FAQs [2022]
- How to Change a Bike Seat [Seat Replacement and Positioning]
- How to Put Chain Back on Bike in 5 Simple Steps for Beginners
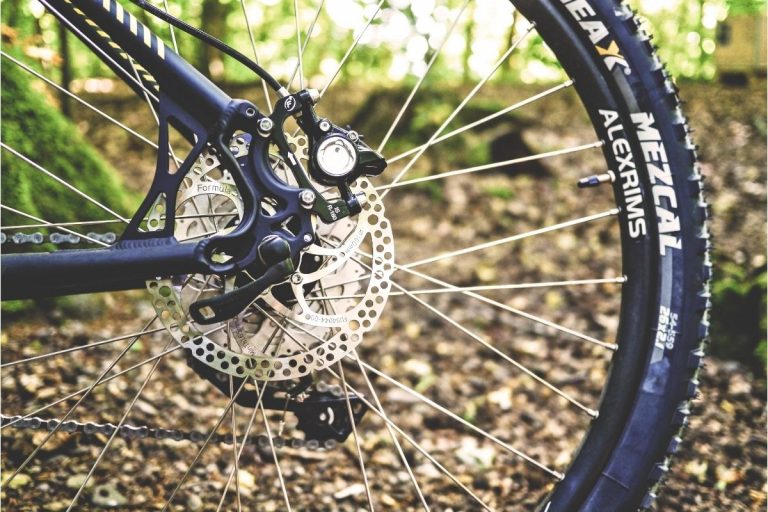
Tubeless Tires Explained
You might be wondering how tubeless tires actually work, compared to regular tires. Basically, the role of a normal bike tire (or a bike tire that has tubes) is to provide traction, as well as to protect the air filled tube within the tire.
When the tube is airtight it provides firmness to the bike tire, keeping it tight against the wheel’s rim. The tire can sustain small holes and remain in working order, just as long as the tube hasn’t been punctured within.
A tubeless tire (if you hadn’t already guessed) doesn’t have this internal tube. Instead, the tire provides its own shape and firmness via the air inside.
This means that both the rim and the interface of the tire rim need to be airtight. If a tubeless tire gets a small puncture, you can use sealant to plug it up.
There’s a number of benefits to using tubeless tires (more comfortable, and it makes for an easier ride), but the primary advantage is that you’ll be at far less risk of flats.
Carry out all tubeless tire repairs with this Tubeless Tire Repair Kit for Bicycles
Is Every Bike Compatible With Tubeless Tires?
Not every bike is compatible with tubeless tires. The best way to check if your own bike is compatible is by checking with the manufacturer yourself. There should also be some sort of designation on the bike’s rim if the bike is compatible with tubeless tires.
If you see the phrase ‘tubeless ready’, ‘TCS’, ‘TLR’, ‘TNT’, ‘TR’, or ‘tubeless easy’, then your bike is good to go.
Equipment For Installation
If you’re planning to install tubeless tires on your bike, you’re likely going to need most if not all of the following: tire sealant, a tubeless valve stem, tubeless rim tape (which must be the correct width for your tires), a syringe, a valve core remover, at least one tire lever, an air compressor or a floor pump, needle nose pliers, and some paper towels or rags.
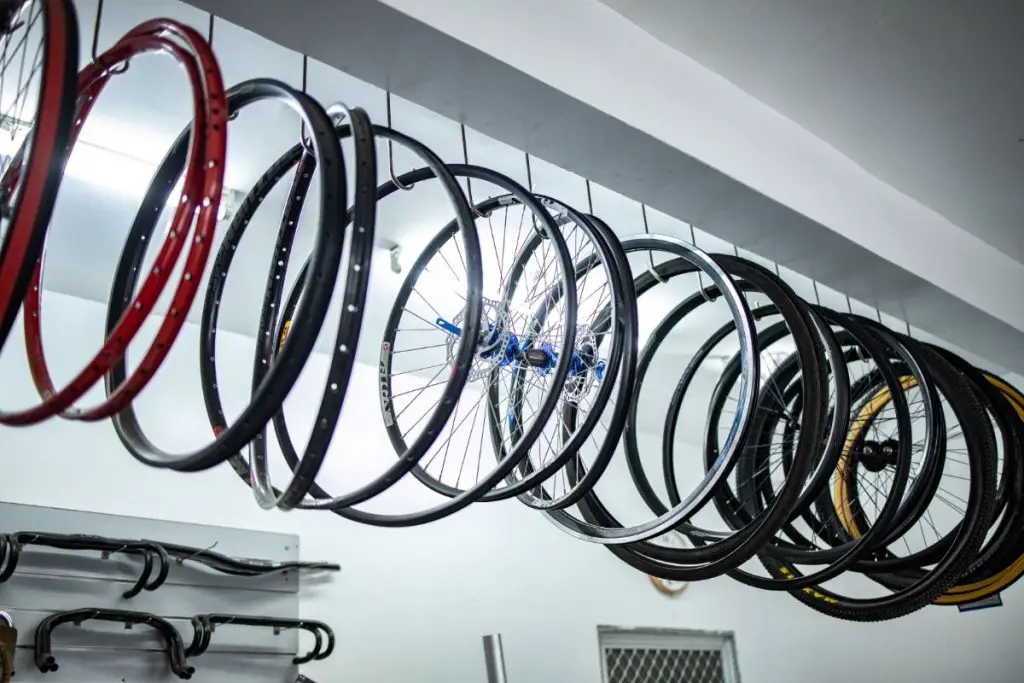
Use Rim Tape for Rim Interior to upgrade to tubeless bicycle tires

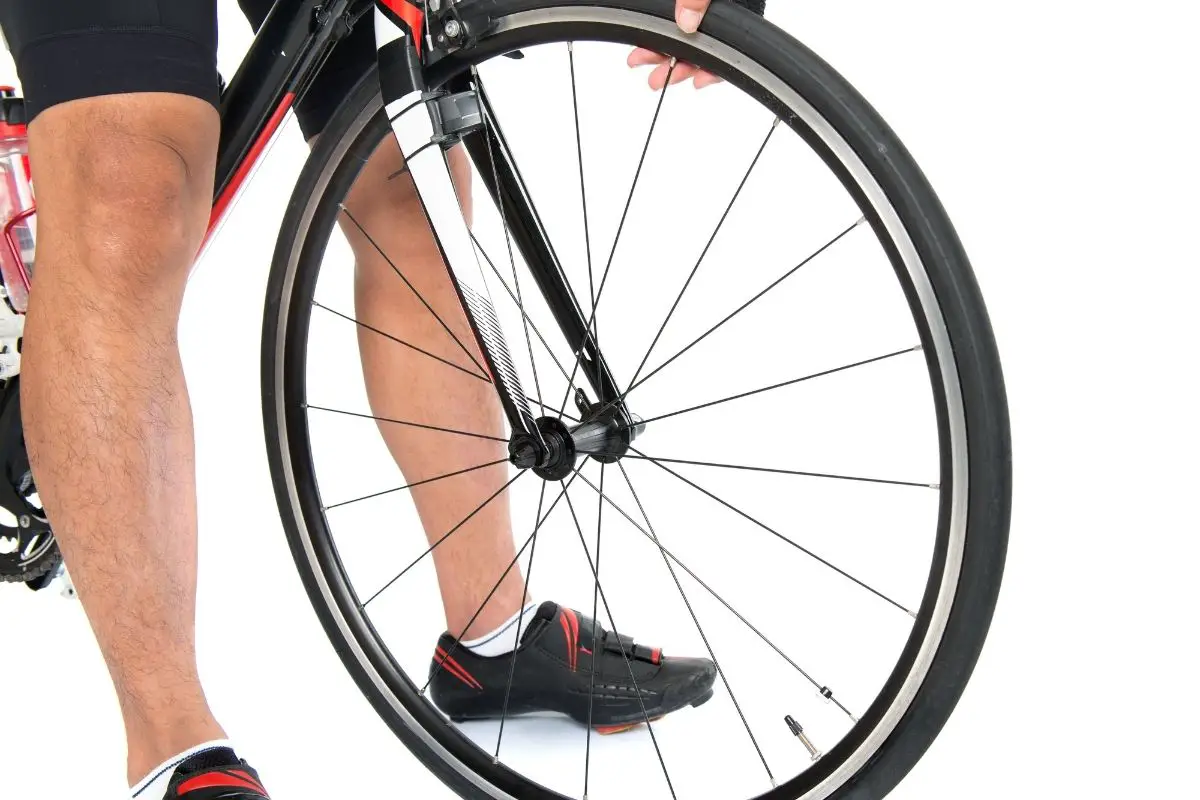
How To Install Tubeless Tires
Before you can install your tubeless tires, you’re going to need to remove the standard tires from your bike. To do this, release the brake and loose the bike’s axle nut. This should be all you need to do to remove a traditional wheel and tire from your bike.
If the rim came with tubeless tape already installed, then you won’t have to worry about this next step. But if it didn’t, you might have to remove all of the rim tape or the rim strip from within the rim.
This should pull free quite easily once you’ve removed the valve. If you’re not sure whether the rim has tubeless tape or not, remove it just in case.
Once the tape has been removed, clean the inner rim with a rug and some rubbing alcohol.
There should be no remaining tape or residue from sealant inside the rim. Wait until the rim is completely dry, and then you can proceed.
Next, apply tubeless tape to the rim, starting just above one of the spoke holes, and above the valve hole. When you’re applying the tape, press it against the center depression of the wheel’s rim, working your way gradually outward.
Make sure that no air can escape from the spoke holes. There should be no folds in the tape, and as few air bubbles as possible. It’s vital that you match the width of your rim tape to the width of the inner rim.
The tape should be covering the entire rim without interfering with the edges of the rim (the part with the bead).
Next, insert your valve stem into the wheel’s rim by poking a small hole in the valve hole.
Adjust the rubber back of your valve so it’s tight against the rim and the tap. If there’s a rubber O-ring, slide this over your valve, and then screw the locking nut.
At this stage you should remove the valve core. You can do this using a valve core removal tool, with which you can unscrew the valve’s centre.
Now you’ll be installing the tire itself. First, clean the inner tire with a rag or paper towels. Line it up so that the tread is facing forwards. Be careful not to damage the rim tape.
To inflate the tire, fix the head of the floor pump or air compressor to the valve and pump vigorously. If you hear loud pops throughout this process, that’s perfectly normal- it’s just the sound of the tire against the rim.
Then remove the pump head and let the air out. The bead should remain once the tire has been deflated. It’s at this point you should add two to three ounces of your sealant into the valve. You may need a syringe if the sealant is in a larger container.
Once you’ve added enough sealant, put the valve core back in. Over time the sealant will dry out, so you’ll need to top it up every few months or so.
Your final step is to inflate the tire as you normally would. You can also spin the tire once it’s on the bike, in order to spread the sealant properly. The best way to spread it, though, is by just going for a ride.
If your bicycle tire is still using an inner inflatable tube, consider upgrading to a Tubeless Continental Gatorskin Bike Tire

Conclusion
There are a number of steps involved to properly install tubeless tires on your bike. To sum up: remove the standard wheel and tire from your bike, then remove the existing rim strips if they’re not tubeless rim strips.
Tape up the rim with your tubeless tape, insert the valve, remove the valve core, install your tubeless tire, inflate and then deflate your tire, and then add the sealant. By following these steps you should be well on your way to a smoother ride- and far less flats!


![How to Deflate a Tire – Bicycle Maintenance and FAQs [2022]](https://www.ridersonwheels.com/wp-content/uploads/2022/02/How-To-Deflate-A-Tire-768x512.jpg)