2 Best Methods on How to Remove a Bike Chain Quick and Easy
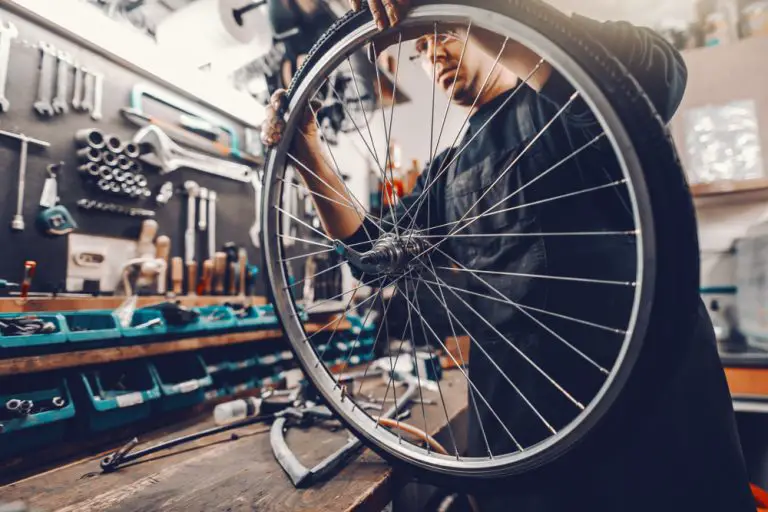
How to remove a bike chain – The process of removing a bike chain might seem a little overwhelming at first, but it can be a relatively straightforward procedure so long as you have the right tools and information.
In this guide, we’ll take a closer look at two of the best methods on how to remove a bike chain, including everything you need to know about regular link chains and master link chains. We’ll also look to answer a few of the frequently asked questions.
Disclaimer: Some of the links in this article are affiliate links and I may earn a commission if you click on them, at no additional cost to you. Hope you find the information here useful! Thanks.
Related Articles:
- Quick Easy Tips on How to Install Tubeless Tires for Bicycles
- How to Deflate a Tire – Bicycle Maintenance and FAQs [2022]
- [Seat Replacement and Positioning] How to Change a Bike Seat
- 5 Top of the Line Best Bike Chain Cleaner Kit for 2022
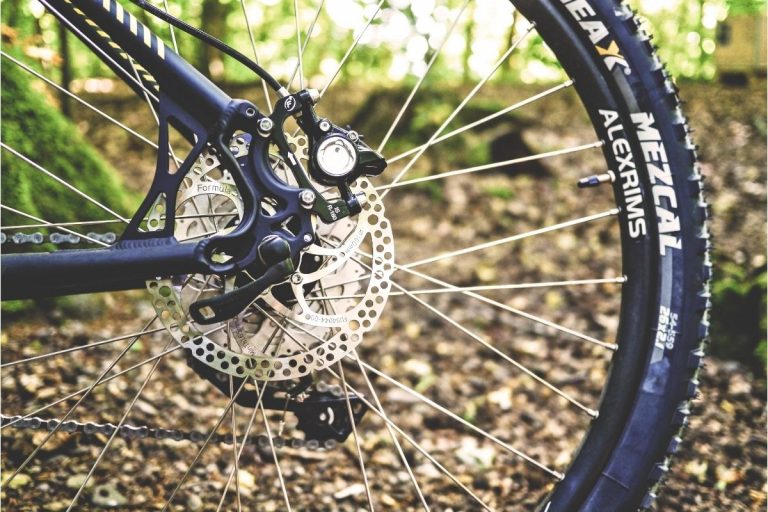
Taking Off A Regular Link Chain
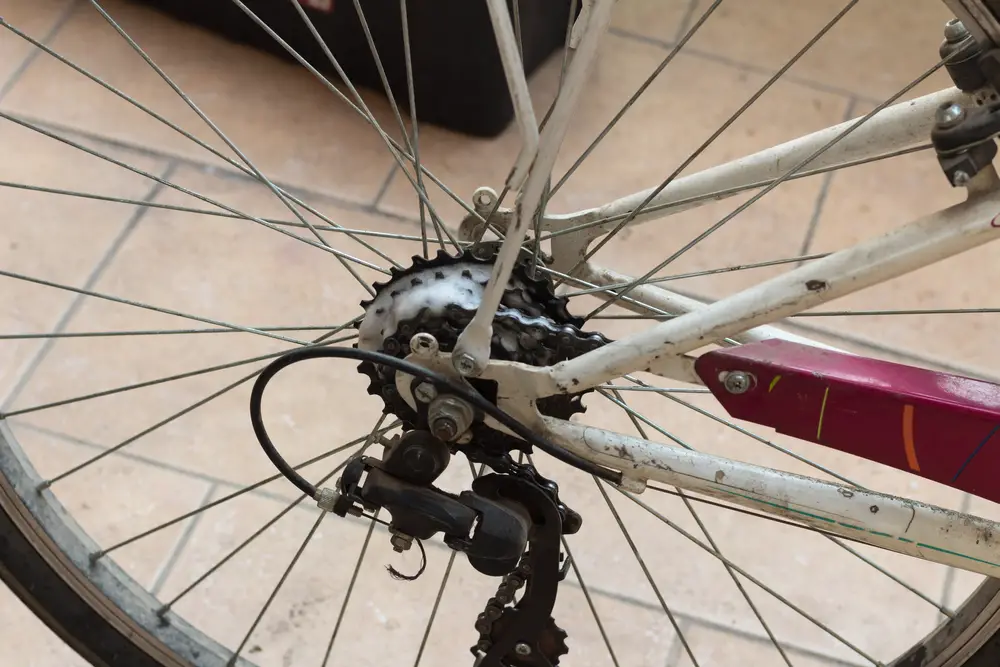
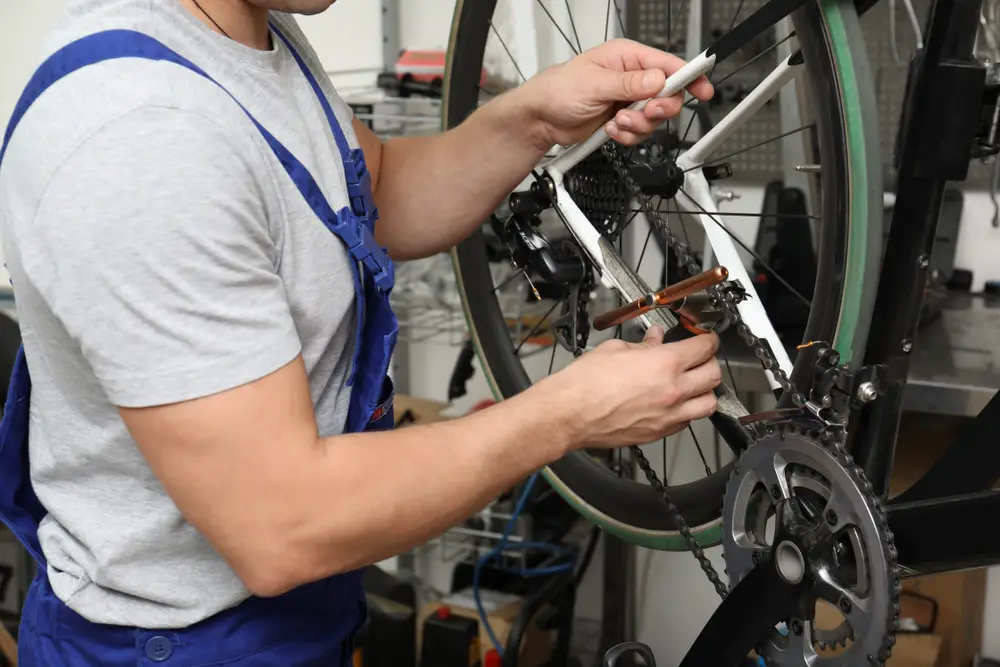
When removing a regular link chain, the first thing to do is make sure you get a chain tool. This is a small, handheld device which comes equipped with a rotating handle, as well as a metal pin to effectively force the rivet out of a chain link. You can find chain tools at either your local bike shop or Link Plier Chain Breaker Splitter.

- Once you’ve successfully got your hands on a chain tool, you then need to insert the pin on one of your links on your bike chain into the device.
- All chain tools should have two prongs positioned next to the small metal pin that seamlessly fit around one of the links on your bike chain. To secure the link in place, simply slide it between the two prongs.
- Most bike chains typically come equipped with outer plates, inner plates, pins, and rollers. So, to make the chain come apart, you need to use the chain tool to force the pinout of the rollers.
- It’s important to avoid inserting the chain tool into any other part of the chain as this can cause significant damage.
- When pushing the pin into the centre of the chain link, turn the handle on the chain tool clockwise.
- If you come across some resistance, this is absolutely fine, just keep rotating the handle until the rivet (the pin in the centre of the chain link) is almost out the other side of the link.
- Next, you need to turn the handle of the chain tool counterclockwise to remove the device pin out of the link. You can stop turning the handle once you’re able to safely lift the bike chain out of the chain tool.
- The link should separate relatively easily considering the rivet is almost entirely pushed out from the link, so grab the bike chain and wiggle it gently back and forth until the link comes apart.
- One thing you need to be careful of avoiding is accidentally deforming the link as you’ll then need to replace the chain.
- Finally, now that you’ve managed to separate the chain at one of the links, you can safely remove it from the bike. When you’re ready to reattach the chain, simply use the chain tool to force the rivet back into the link you originally separated.
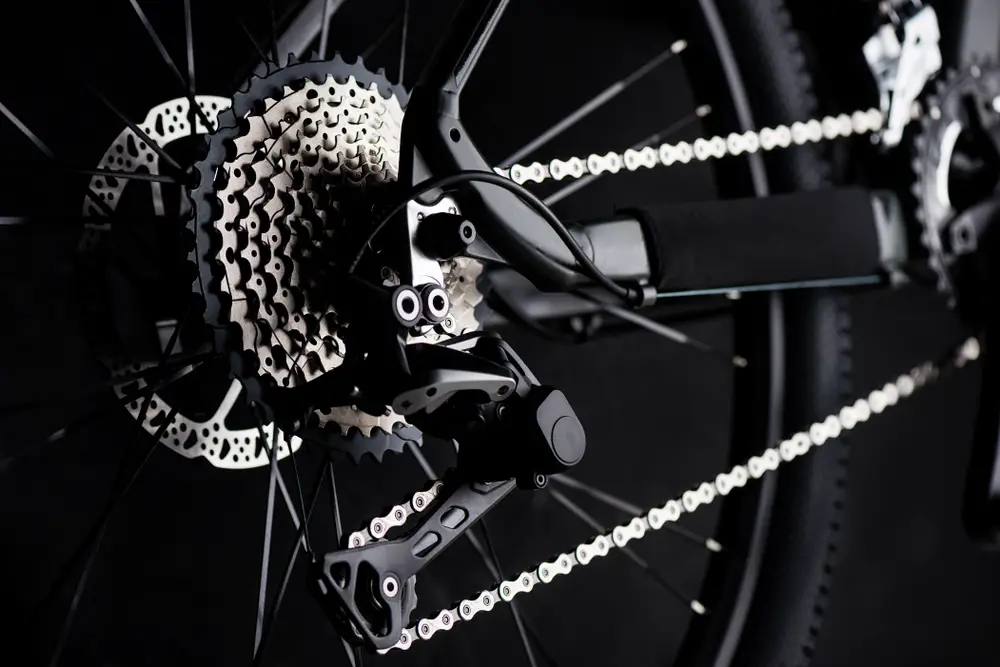
Removing A Master Link Chain
To start with, you need to identify the master link on your bike chain. This usually looks a little different to the other links on the chain and will typically have different coloring on the side.
What’s more, master links often feature different pins to the rest of the links on the chain.
- You’ll then need to find a pair of master link pliers to squeeze the master link together. To do this, position the master link so it’s in between the two jaws of the pliers and squeeze the handle to force the master link together.
- If you don’t have access to a pair of master link pliers, you should be able to find them either online or at your local bike shop. Furthermore, you can also try using needle-nose pliers, although this might be a little more difficult.
- Next, release your grip on the pliers so the jaws come out from the sides of the master link, resulting in the master link coming apart. You’re then in the position to carefully remove the chain off the sprockets of your bike.
- If you’ve followed our steps correctly and the master link has been separated, the chain should be easy to remove.
- To place your chain back on the bike, make sure you reattach the rivets at the ends of the chain, and then use the aforementioned master link pliers to securely fasten the master link in place.
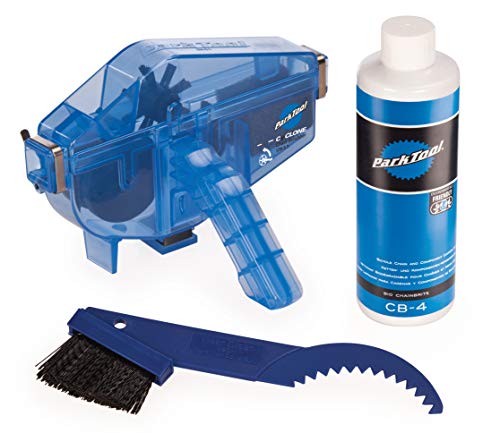
Service and clean your bike chain for longer life with this Bicycle Chain and Drivetrain Cleaning Kit
Frequently Asked Questions
Do All Bikes Have A Master Link?
No, not all bikes feature a master link. They’re mostly found on single-speed bikes, BMX bikes, or three-speed town bikes with internal gears. As a general rule, the more sprockets a bike has on its rear cassette, the less room there is for a wide master link.
What Happens If Your Pin Comes Out Of The Link When Changing A Regular Bike Chain?
It’s vitally important to avoid the pin coming all the way out of the link due to the fact that the reinstallation process is almost impossible.
If the pin accidentally comes out, you can try shortening the chain to the next undamaged link. However, it’s worth keeping in mind that this can make it difficult to shift into certain gears.
What Does A Split Link Look Like On A Bike Chain?
Split link chains are typically used on single-speed bikes such as beach cruisers and children’s bikes. The split link is relatively easy to locate since it looks different to most of the other links on a bike chain. Just try and look for the link with a metal side plate.
Increase the number of gears for a more comfortable ride with this Shimano Ultegra R8000 Cassette

The Bottom Line
To conclude, the process of removing a bike chain shouldn’t be something to worry about. This is because, with the correct information and suitable tools, the procedure can be performed by pretty much anyone, irrespective of prior knowledge about bikes.